Most people own perfectly good makeup brushes and still can't get the finish they see on a professional. The brushes aren't the problem — the hands are. A pro and a beginner can use the identical brush and get very different results, because a flawless finish is far more about how the brush moves than which one you bought. The good news: the technique is learnable, and most of it comes down to a handful of habits you can practice tonight.
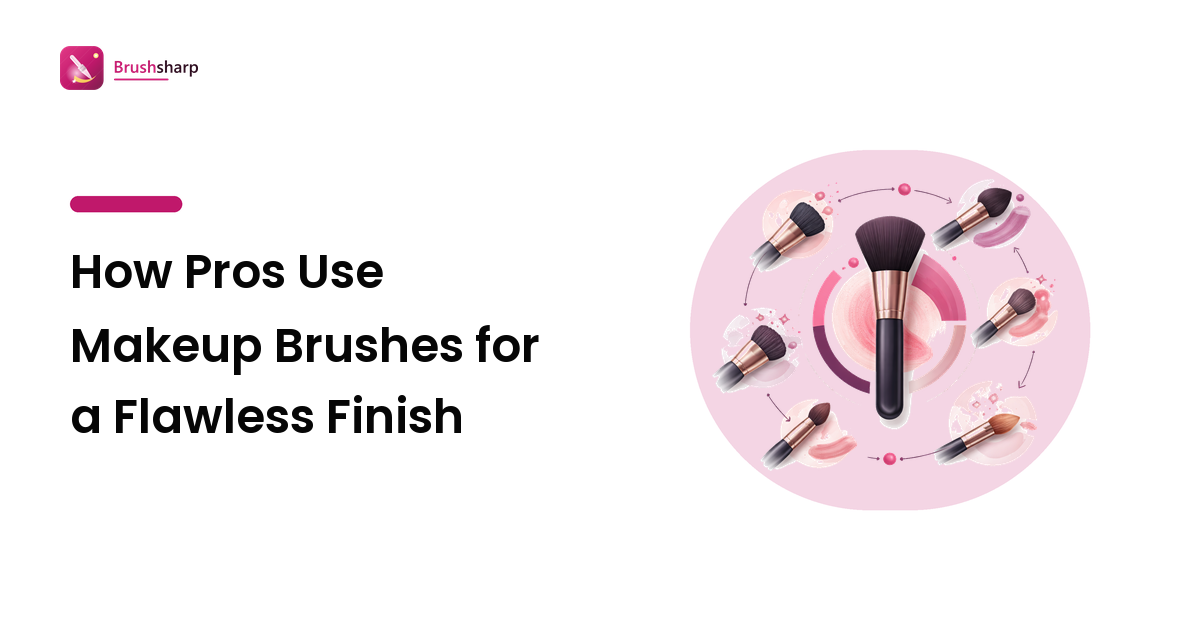
The takeaway up front: there are only three things a brush does — press, buff, and blend — and knowing which one a moment calls for is the whole game. Press to deposit color where you want it, buff to work it into skin, and blend to erase the edges. Match the motion to the job and cheap brushes start looking expensive. Below is how the pros actually do it.
The three motions that do everything
Watch a working makeup artist and you'll notice they change motion far more than they change brushes.
- Press (a firm tap or stamp, no dragging) lays product down at full strength. It's how you get eyeshadow pigment to actually show up and how you place concealer exactly where a blemish is. Sweeping a dense brush wastes pigment; pressing keeps it intact.
- Buff (small circles with light, even pressure) melts foundation, cream blush, or contour into skin so there's no visible edge where product stops. This is the motion that makes base look like skin rather than makeup.
- Blend (feather-light passes with a soft, fluffy brush over the boundary between two colors) diffuses hard lines into gradients. An unblended edge is the single most common thing that reads as "amateur," and blending is the fix.
Almost every step in a face is one of these three. When something looks off, the question a pro asks first isn't "wrong brush?" — it's "wrong motion?"
Load light, build slowly
The most consistent difference between a pro and a rushed home application is how much product touches the brush. Professionals tap off — they dip the brush, then knock the excess against the pan or the back of a hand before it ever meets the face. A brush carrying too much product deposits blotches you then have to fix, and fixing means disturbing the layers underneath.
Build in thin passes. Two light layers of foundation blended properly will always look more like skin than one heavy layer, because light layers let some of your real complexion show through. This is slower by a few seconds and better by a mile.
Match the brush to the motion
Technique and tools reinforce each other — the right head shape makes the right motion easy and the wrong motion awkward, which is a useful guardrail. A quick map:
- Base: a dense, synthetic, flat-top or domed brush for buffing foundation. Density is what lets you work product into an even, streak-free layer.
- Setting powder: a large, soft, full brush to press powder gently over the base — press, don't sweep, so you set the foundation instead of dragging it around.
- Cheeks: a medium, tapered or angled brush to place blush or contour along the cheekbone, then a clean fluffy brush to blend the edge upward.
- Eyes: a short, flat, dense shader to press shadow onto the lid, and a soft, tapered brush to blend the crease. If you buy one good eye brush, make it the blender.
Firm, dense brushes press and buff; soft, loose brushes blend. Most home mistakes are simply a fluffy brush asked to do a dense brush's job, or the reverse. If you're still assembling a kit that can do all of this, our guide to the essential makeup brushes covers the short list that actually earns a place.
The finish lives in the last 10%
Pros spend a surprising amount of time on tiny corrections that separate "good" from "flawless": one clean blending brush passed over every edge with no product on it, a spoolie run through the brows, a fingertip pressing a single warm spot back down. None of it adds color — it all softens transitions. Reserve one soft, product-free brush at the end purely for this, and you'll catch the edges a mirror hides in ordinary light but a camera doesn't.
Clean brushes are non-negotiable
Every technique above assumes the brush is clean. A brush caked with old product goes stiff, deposits unevenly, and stops blending — and it holds bacteria against your skin. A pro's brushes are washed constantly for exactly this reason. Wash yours in lukewarm water with a mild soap, rinse until the water runs clear, reshape the head with your fingers, and dry them bristles pointing down or flat so water never seeps into the ferrule and loosens the glue. A brush that keeps its shape keeps its technique.
When to bring in a professional
Technique is worth learning, and for everyday makeup it's all you need. But there are days — a wedding, a milestone shoot, an event where photos will outlive the night — when you want a trained pair of hands and one less thing to manage. A skilled, licensed artist reads your skin (prep and product choices for sensitive or acne-prone types are a real specialty, not an afterthought), builds a finish that holds up under hours and camera flash, and can teach you as they go.
If you're in the Northern Virginia or Washington, DC area, Taylor Bailey Makeup Artist is a good example of the type: a licensed cosmetologist with an esthetics background whose "skin-focused soft glam" approach enhances rather than masks, with on-location bridal, event, and photoshoot work plus one-on-one makeup lessons if you'd rather learn the techniques above hands-on. A single lesson with a pro can shortcut months of trial and error.
FAQ
Why does my makeup look different from a professional's with the same products?
Almost always technique, not tools. Pros press to deposit, buff to melt product into skin, and blend every edge with a clean soft brush — and they build in thin layers rather than one heavy pass. The motion matters more than the brush.
What's the single most important brush technique to learn?
Blending. Passing a soft, product-free brush over the boundary between two colors turns hard lines into gradients, and an unblended edge is the most common thing that makes makeup look unfinished.
How often should I clean my makeup brushes?
Wash brushes used with liquids and creams (foundation, concealer) weekly, and eye and powder brushes every couple of weeks. Dirty brushes apply unevenly and hold bacteria; clean ones blend the way the technique intends.
Is it worth hiring a makeup artist instead of doing it myself?
For everyday looks, learning the technique is enough. For weddings, shoots, and events where the finish has to last and photograph well, a professional's skin prep, product knowledge, and speed are worth it — and many offer lessons so you keep the skills afterward.
Bringing it together
A flawless finish isn't a secret brush — it's press to place, buff to melt, blend to erase, built in light layers with clean tools. Practice those motions and your existing brushes will do far more than you thought. And when the occasion earns it — a wedding, a milestone, a day you want fully off your plate — booking a professional like Taylor Bailey Makeup Artist for the event, or a lesson to sharpen your own hands, is a fair way to guarantee the result. For more honest, vendor-neutral brush guidance, visit brushsharp.com.