Walk into any makeup aisle and you'll find brushes sold by the dozen, named things like "tapered crease definer," and priced from pocket change to a small fortune. It's easy to assume the kit is the hard part. It isn't. A small set of well-chosen brushes, used with a little technique and kept clean, will out-perform an expensive roll you never wash — and last for years while doing it.
This is the hub for everything makeup brushes on Brush Sharp. The takeaway up front: a makeup brush is a system, not a purchase. Choose the few brushes that each do a real job, learn the one technique that makes each one work, then clean, dry, store, and eventually replace them on a simple routine. Get that loop right and cheap brushes look expensive; skip it and expensive brushes look cheap. Below is the whole loop, with links to deeper guides where you want to go further.
How a makeup brush actually works
Before choosing anything, it helps to know what you're holding. Every makeup brush is four parts, and each one changes how it behaves:
- The head shape decides where product lands — a flat, dense head presses pigment onto a small area; a full, domed head diffuses it over a large one.
- The density decides how much product the brush picks up and how firmly it deposits it. Dense brushes place and pack; loose brushes sweep and blend.
- The bristle — synthetic filament or natural hair — decides how the brush handles wet versus dry products (more on that below).
- The ferrule, the metal band clamping the bristles to the handle, decides how long the brush survives. A snug ferrule holds the shape and stops shedding; a loose one drops hairs into your foundation.
Two properties do most of the work: shape (where the product goes) and density (how much, and how firmly). Almost every "which brush" question comes down to matching those two to the product you're applying and the effect you want.
The two brush families: face and eye
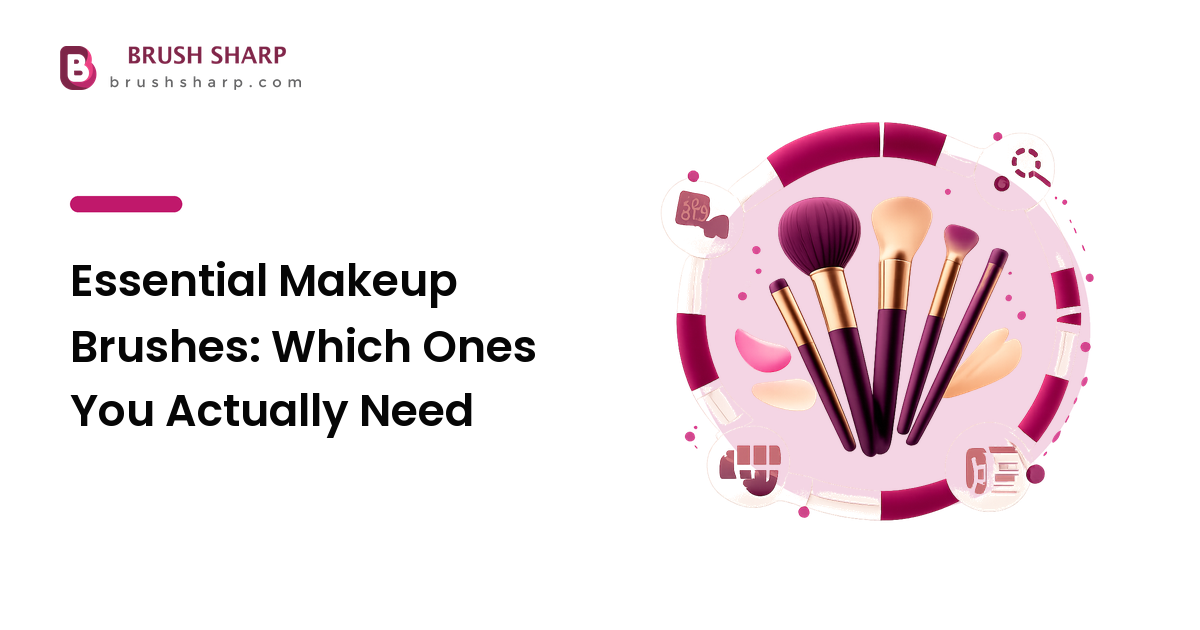
Makeup brushes split cleanly into face brushes and eye brushes. You need only a few of each — a five- or six-brush core covers almost every everyday look, and the rest are specialists. Here's what each family does at a glance; for the definitive shortlist of what to actually buy, what to look for, and what to skip, see our guide to the essential makeup brushes.
Face brushes
Faces need three jobs covered:
- A base brush applies and blends foundation or concealer. A dense, synthetic, flat-topped or domed head buffs liquid into an even layer without streaks, and it doubles for cream blush and contour.
- A powder brush — large, soft, and full — sets that base with powder and sweeps bronzer over the high points of the face. Its job is gentle diffusion, so softness matters more than density here.
- A cheek brush — medium, tapered or angled — places blush or powder contour where you want it. An angled head follows the cheekbone on its own; a rounded one gives a softer, more diffused flush. Pick the shape that matches how much control you want.
Eye brushes
Eyes are where kits balloon to a dozen brushes, but two do the heavy lifting:
- A flat shader is short, flat, and fairly dense — it presses eyeshadow onto the lid so the color shows up at full strength.
- A fluffy blending brush lives in the crease and softens the hard edges between shades. If you own one eye brush, own this: an unblended edge is the single most common thing that makes eyeshadow look unfinished, and nothing fixes it like a clean, soft blending brush.
Add a spoolie — the little mascara-wand shape — to groom brows and break up mascara clumps. It costs almost nothing, and you may already own one.
Synthetic or natural — which bristle for makeup?
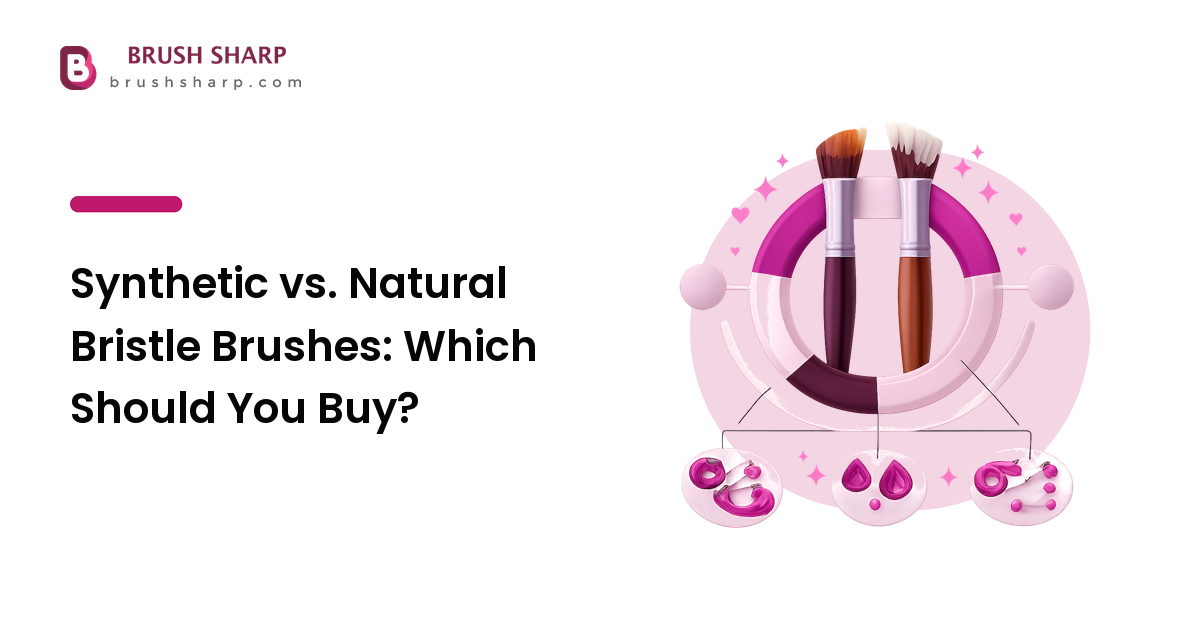
For a modern kit, synthetic is the sensible default, and for most people it's the only bristle they need. Man-made filaments don't absorb liquid, so more product reaches your skin and the brush rinses clean — that makes synthetic the clear choice for foundation, concealer, and any cream product. Synthetics are also easier to keep hygienic and are cruelty-free.
Natural hair keeps one honest niche: the cuticle texture of goat or squirrel diffuses loose powder with a very soft touch, which is why some people still prefer a natural powder or blush brush. Good synthetics now do this convincingly, so treat it as a preference, not a rule. If you're weighing the trade-offs across a whole kit, our comparison of synthetic vs. natural bristle brushes breaks down which wins each job and why.
How to actually use each brush
Owning the right brush is half of it; using it the right way is the other half. Three principles carry most looks:
- Press to deposit, sweep to blend. Pressing or stippling lays product down at full strength — do it with dense brushes for foundation and for packing eyeshadow color. Sweeping and light circles diffuse and soften — do it with fluffy brushes for powder, blush, and blending a crease. Most beginner problems are a fluffy brush asked to do a dense brush's job, or the reverse.
- Load light and tap off. Pick up a little product, tap or wipe the excess onto the pan or the back of your hand, then build in thin layers. A brush overloaded on the first pass drops a patchy deposit you then have to fight — you can always add more, but you can't easily take it away.
- Let the brush angle do the work. Hold the brush near the ferrule for control and near the end for a lighter touch. An angled cheek brush follows the cheekbone naturally; a flat shader packs cleanest held flat to the lid. Work with the shape rather than forcing it.
Two quick fixes worth knowing: for foundation, buff in small circles, then finish with light downward strokes so fine facial hair lies flat; for eyeshadow, pack color on with the flat shader first, then blend the edges with a clean fluffy brush — a clean brush blends, a loaded one just muddies.
Keeping your brushes clean
A brush you press into your skin every day collects oil, dead skin, old product, and bacteria in the base of the bristles, then hands that back to your face on the next use. Clean brushes aren't a luxury step — they're the difference between a tool that helps your skin and one that quietly works against it.
The routine is simple: wet the bristles under lukewarm water pointing downward (never let water run up into the ferrule), swirl on a little mild soap or a dedicated brush cleanser, rinse until the water runs clear, and gently squeeze out the excess. How often depends on what the brush touches — foundation and other cream brushes about weekly, powder brushes every couple of weeks. If you've noticed breakouts along the areas a brush touches, our guide to dirty makeup brushes and breakouts covers the schedule and the skin side in depth. This is general hygiene guidance, not medical advice; persistent, painful, or worsening skin problems are worth taking to a dermatologist.
Drying and storing so brushes hold their shape
How you dry a brush matters as much as how you wash it. The enemy is water sitting in the ferrule, where it loosens the glue and starts the shedding that ends a brush early.
- Reshape the wet tip with your fingers as soon as you've rinsed, so it dries in the right silhouette.
- Dry flat or angled downward — ideally with the head hanging slightly over the edge of a counter, so air reaches all sides and water drains away from the ferrule. Never stand a wet brush bristles-up in a cup; the water runs straight down into the glue.
- Store dry brushes upright in a cup, or laid flat in a roll, out of damp bathroom air. A mesh brush guard helps a fine tip keep its point in storage.
These are the same habits that protect paint and art brushes; the full cross-medium routine lives in our brush care and cleaning guide.
When to replace a makeup brush
Even well-kept brushes don't last forever, and a worn one quietly degrades your makeup. Replace a brush when:
- It sheds persistently even after a wash and a gentle tug — loose bristles in your foundation mean the ferrule bond is failing.
- The tip won't hold its shape, staying splayed or frayed after cleaning and reshaping, so it no longer places product where you aim.
- It stays stiff or smells after a proper wash, which usually means product is caked deep in the base beyond rescue.
- The bristles feel scratchy on your skin — a soft brush that has gone rough is past its best.
There's no fixed calendar for this. A well-made, well-cared-for brush can last many years, while a cheap one abused with hot water and cup-drying can fail in months. The variable you control is care, not the price tag.
FAQ
How many makeup brushes do I actually need?
A five- or six-brush core handles almost every everyday look: a base brush, a powder brush, a cheek brush, a flat shader, a fluffy blending brush, and a spoolie. Large kits mostly add duplicates and novelty shapes — build the core first and add a specialist only when a look calls for one.
Are synthetic or natural bristles better for makeup?
Synthetic is the better default: non-absorbent, so it's ideal for liquids and creams, easy to keep hygienic, and cruelty-free. Natural hair diffuses loose powder softly, but modern synthetics do that well too, so it comes down to preference rather than need.
How often should I clean my makeup brushes?
Match it to what the brush touches: foundation and other cream brushes about weekly, powder and blush brushes every couple of weeks, eye brushes every week or two. The wetter the product and the closer to breakout-prone skin, the more often it needs washing.
How do I dry brushes without ruining them?
Reshape the wet tip, then dry the brush flat or angled downward — ideally with the head hanging over a counter edge — so water drains away from the ferrule. Never dry a brush bristles-up in a cup; water runs into the glue and the brush starts to shed.
When should I throw a makeup brush away?
When it sheds after a wash, won't hold its shape, stays stiff or smells despite proper cleaning, or feels scratchy on your skin. Care matters more than age — a well-kept brush lasts years, while a neglected one fails fast.
Next step
Makeup brushes reward a little system over a big spend: pick the few that each do a real job, use press-to-deposit and sweep-to-blend, and keep them clean, dried the right way, and replaced when they're genuinely worn. Do that and a modest kit will serve you for years. When you're ready to choose your next brush or powered brush and want honest, vendor-neutral comparisons, explore the reviews and buying guides at brushsharp.com.